CND SHELLAC™ - UV COLOR - AFTER HOURS 0.25oz (7,3ml)
Code: 151Related products
Product detailed description
CND Shellac - Application Procedure
CND Shellac - Application Procedure
1. First Step
What will you need?
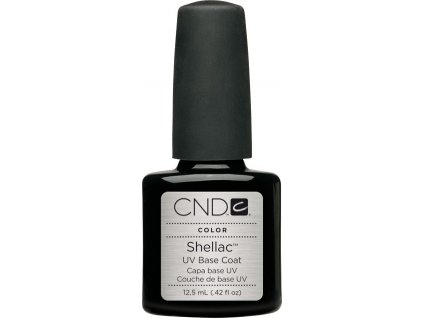
1.Shellac Base Coat
2.Color Shellac
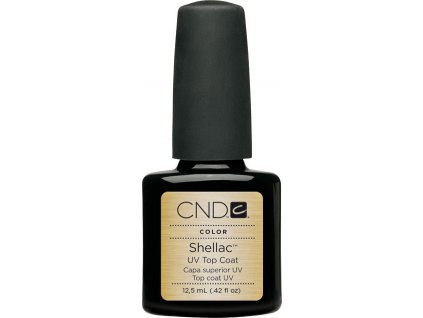
3.Shellac Top Coat
4.UV OR LED lamp
5.Nail file
6. Cotton swabs
7. spatula to push the cuticle
8.Cleaner or Isopropyl alcohol, (Cleaner will be in the treatment of nail gels or gel varnishes with your right hand. It is used to remove effusion, which is a sticky liquid)
9.Scrub Fresh - disinfection for nails
SOURCE: WWW.LNSHOPNAILS.CZ
Nail preparation
1. Start by adjusting the shape of the nails. Make sure the free edges of the nails do not have any sharp ones
edges. Remove all dust very carefully.
2. Gently push the cuticle around the nails. Be careful not to damage the cuticle. Yippee
it is important that the entire nail around the skin is thoroughly cleaned.
3. Apply Scrub Fresh to the swab or pulp and disinfect all nails
one hand. Use a new swab on the other hand and repeat the procedure.
Base Coat
1. Mix the vial thoroughly with Shellac Base Coat!
2. Apply a thin layer of Shellac Base Coat to each nail. You start with a nail
roots and you paint towards the tip in several symmetrical strokes. Make sure you are
evenly covered the entire nail area. Drag Shellac over the free edge of the nail,
however, leave a small gap at the edge of the base layer (all around the skin ramparts).
3. Continue in the same way on all nails of one hand.
SOURCE: WWW.LNSHOPNAILS.CZ
4. Now place your hand in the UV-LED lamp and let it shine for 2 minutes (depending on the type
UV / LED lamps, follow the manufacturer's instructions) so that the base layer hardens.
At this stage, sticky residue appears on the surface. Do not remove this adhesive layer,
because it helps the next layer to adhere properly.
5. Proceed in the same way on the other hand.
Color layer
6. Thoroughly mix the Shellac color vial!
7. Apply the first Shellac color coat in even strokes. Paint the layer
as thin as possible, but to cover the entire area of the nail. Drag the color
layer over the tip. This layer must not overlap the Base Coat around the cuticle. Narrow
space on the nail - about 1 mm around the skin still remains uncovered to be
possible to finally "seal" the whole layer.
8. After painting all the nails, place your hand under UV light and let it work
set time.
9. Continue in the same way on the other hand.
10. Apply the second color coat in the same way. Make sure the layer covers
the edge of the tip from its front. The nail surface is covered with a layer within the boundary
Base Coat (does not exceed Base Coat).
11. After painting all the nails, place your hand under the UV / LED light and let it work
set time.
12. Continue in the same way on the other hand.
Top Coat
13. Mix the vial thoroughly with Shellac Top Coat!
14. Finally, apply Top Coat to each nail. This time this layer
Base Coat overlaps and colored layers at the edges, but avoid this anyway
applying it to the skin around the nail. This procedure will achieve the so-called
"sandwich sealing" means sealing the paint inside the base and surface
layers.
SOURCE: WWW.LNSHOPNAILS.CZ
Warning: If any of the Shellac layers come in contact with the skin, it will not work properly
sealing on the nail and it is likely that Shellac will start to peel.
15. Place your hand in the UV lamp one last time and let the UV light work out.
16. Proceed in the same way on the other hand.
17. Carefully wipe each fingernail with a cloth soaked in Isopropyl alcohol. The team
remove sticky residue left on the nail surface.
Warning: It is important to shake Shellac well before applying each coat! if
Shellac will find the precipitated material on your painted nail after hardening, so Shellac was not enough
shaken or the painted layer was too thick.
HOW DOES SHELLAK REMAIN?
What you will need
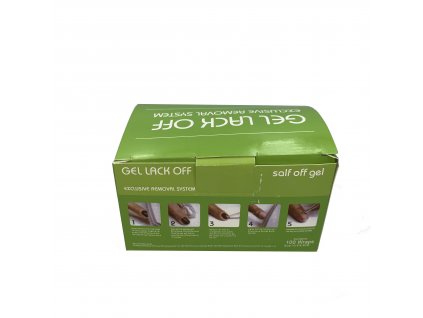
1.Remover Wraps - shellac removal pads
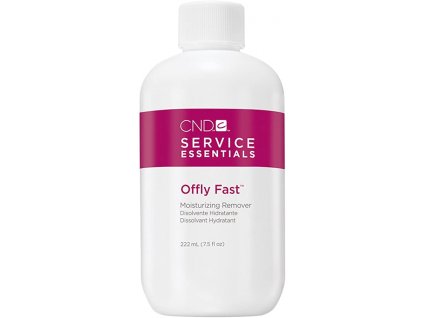
2.Shellacu Offly Fast Moisturizing Remover
3.Remover or acetone, spatula
You can easily remove Shellac with special tampons
Remover Wraps soaked in acetone or a special product
Shellac Nourishing Remover
Wrap each fingertip and leave on for about 10 to 20 minutes.
Then Shellac can easily peel off.
SOURCE: WWW.LNSHOPNAILS.CZ
Additional parameters
| Category: | CND SHELLAC COLORAFTER HOURS |
|---|---|
| Warranty: | 2 years |
| Weight: | 0.045 kg |
| EAN: | 639370924953 |
| Shellac Color: | AFTER HOURS |
Be the first who will post an article to this item!


